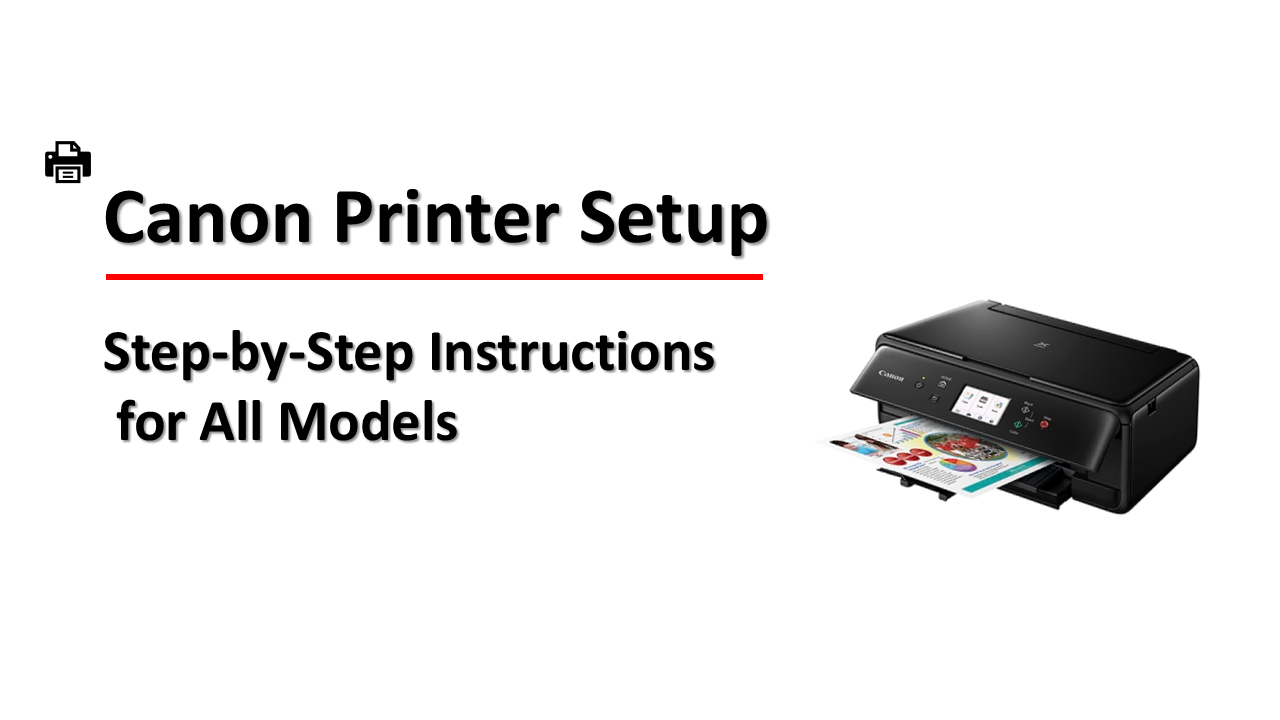
Canon printer Setup can seem like a daunting task, especially if you’re not familiar with printer installation processes. Whether you’re setting up a Canon printer for the first time or reinstalling it after troubleshooting, this comprehensive guide will take you through the step-by-step process. In this article, we will address the most common questions and provide solutions to ensure that your Canon printer is up and running smoothly.
Unboxing Your Canon Printer
When you first receive your Canon printer, carefully remove it from the packaging. Ensure that you have all the necessary components, which typically include:
- Printer unit
- Power cord
- Ink cartridges
- Installation CD (for older models)
- Quick Start Guide or user manual
- Before moving forward, make sure to remove all protective tape and packing materials from both the inside and outside of the printer.
Pro Tip: Keep the box and packaging intact in case you need to return the product or transport it in the future.
Installing the Ink Cartridges
Once the printer is unboxed and placed on a flat surface, the next step is installing the ink cartridges. Follow these steps to install them properly:
- Open the front cover of the printer.
- Wait for the cartridge holder to move into position.
- Unpack the ink cartridges, making sure to remove the protective tape.
- Insert the black and color cartridges into their respective slots.
- Push down gently until the cartridges click into place.
- Close the cover.
- After the cartridges are installed, the printer may perform an alignment or print a test page to ensure everything is working correctly.
Loading Paper in the Printer
- Pull out the paper tray.
- Adjust the paper guides to fit the size of the paper you’re using.
- Load the paper with the print side facing down.
- Slide the paper guides snugly against the edges of the paper, making sure not to bend or damage it.
- Push the tray back into the printer.
Common Paper Issues: If the printer displays a “Paper Jam” error, check that the paper is not overfilled or inserted incorrectly.
Steps to Connect Canon Printer to Wi-Fi
Wireless Setup is one of the most frequently asked questions regarding Canon printers. Here’s how to connect your Canon printer to your home Wi-Fi network:
- Turn on your Canon printer.
- Press the Wi-Fi button on the printer until the indicator light flashes.
- Access the Wireless Setup Wizard on your printer’s control panel (for models with a display screen).
- Select your Wi-Fi network from the list of available networks.
- Enter your Wi-Fi password.
- Once connected, the printer’s Wi-Fi light will become solid, indicating that the connection was successful.
For Canon printers without a display screen, you may need to use the WPS (Wi-Fi Protected Setup) method:
- Press and hold the WPS button on your router.
- Press and hold the Wi-Fi button on your printer for 2 minutes.
- Your printer should automatically connect to your Wi-Fi network.
Canon Printer Setup for Windows : Easy Guide
Follow these steps to set up your Canon printer Setup on a Windows computer:
- Turn on your printer and make sure it’s connected to your Wi-Fi.
- Download the printer driver from the official Canon printer setup website by searching for your printer model.
- Open the driver setup file and follow the on-screen instructions.
- Choose Wireless LAN Connection when prompted.
- Select your printer from the list of available devices.
- Complete the installation process.
- After the setup is complete, try printing a test page to ensure the connection works properly.
Canon Printer Setup for Mac : Easy Guide
Setting up your Canon printer setup on a Mac is similar to the Windows process:
- Turn on the printer and connect it to Wi-Fi.
- On your Mac, go to System Preferences > Printers & Scanners.
- Click the + button to add a new printer.
- Select your Canon printer from the list.
- If prompted, download and install the necessary drivers.
- After the setup, print a test page to confirm everything is working.
Canon Printer Mobile Setup (iPhone/Android)
To print from your mobile device, you can use the Canon PRINT Inkjet/SELPHY app:
- Download and install the Canon PRINT app from the App Store (iPhone) or Google Play (Android).
- Open the app and follow the on-screen instructions to add your printer.
- Ensure your printer and mobile device are connected to the same Wi-Fi network.
- Once the printer is added, you can print directly from your phone or tablet.
If you’re using an iPhone, you can also print using AirPrint:
- Open the document or photo you want to print.
- Tap the Share icon and select Print.
- Choose your Canon printer and tap Print.
Troubleshooting Common Canon Printer Issues
Printer Not Connecting to Wi-Fi
If your printer isn’t connecting to Wi-Fi, try restarting both your router and the printer. Ensure you are entering the correct Wi-Fi password.
Paper Jams
If you experience frequent paper jams, check that you’re using the correct paper size and type. Always fan the paper before loading it into the tray to prevent sheets from sticking together.
Poor Print Quality
If your prints are coming out faded or streaky, run a Print Head Cleaning from the printer’s settings menu. Also, make sure the ink cartridges are properly installed and not empty.
Conclusion:-
Setting up your Canon printer doesn’t have to be complicated. By following the steps outlined above, you can quickly get your printer connected and ready to use on various devices. Whether you’re using Wi-Fi, a USB connection, or mobile printing, this guide covers everything you need to know to make your Canon printer setup as seamless as possible. If you encounter any issues, refer to the troubleshooting section or the printer’s manual for additional help.


